orca-robotics

INTRODUCTION
Overview
Download and Install
Quick Start
Documentation
Publications
REPOSITORY
Interfaces
Components
Libraries
Utilities
Software Map
DEVELOPER
Tutorials
Examples
Dev Guide
Dashboard
Wiki
login/pass: orca/orca
PEOPLE
Contributors
Users
Project
Download
Mailing lists
Player2Orca
[Examples, Stand-Alone Components, C++, Linux]
An example of using Orca and Player in the same component.
More...- Provides
- Requires
- none
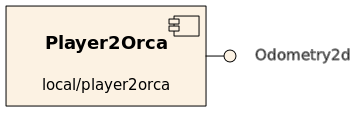
An Orca component which gets remote odometry information from the Player server and publishes it through an Orca Odometry2d interface.
This is a bare-bones example! For clarity, no error checking is performed (on both Orca and Player sides). For examples of proper error checking and exception handling, see components in the repository. In particular, Robot2d has a PlayerClient driver which performs a similar function.
- Prerequisites
- Authors
Tutorial
We will assemble a system shown below.
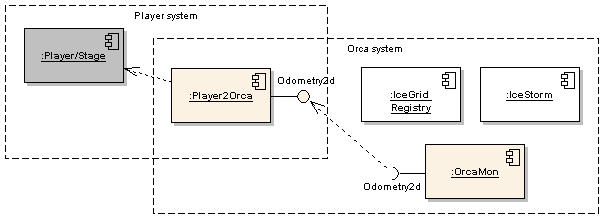
Start IceGrid Registry and IceStorm server as described in the Quick-Start Guide
Start the Player server as described in Orca/Stage Tutorial.
Now we create the tute directory and copy two pre-installed config files.
$ mkdir -p ~/sys/player; cd ~/sys/player
$ cp [ORCA-INSTALL]/cfg/player2orca.cfg .
$ cp [ORCA-INSTALL]/cfg/orcamon.cfg .
Start the Player2Orca component (the standard config file will work)
$ player2orca player2orca.cfg
Edit the orcamon.cfg config file to make it connect to the provided interface of the example.
OrcaMon.Requires.Generic.Proxy=odometry2d@local/player2orca
$ orcamon orcamon.cfg
